In this howto, I want to show you how to display maps generated with UMap in geowiki-viewer and render them to a high-quality SVG/PDF file.
UMap
First, go to one of the UMap instances and create a beautiful map:
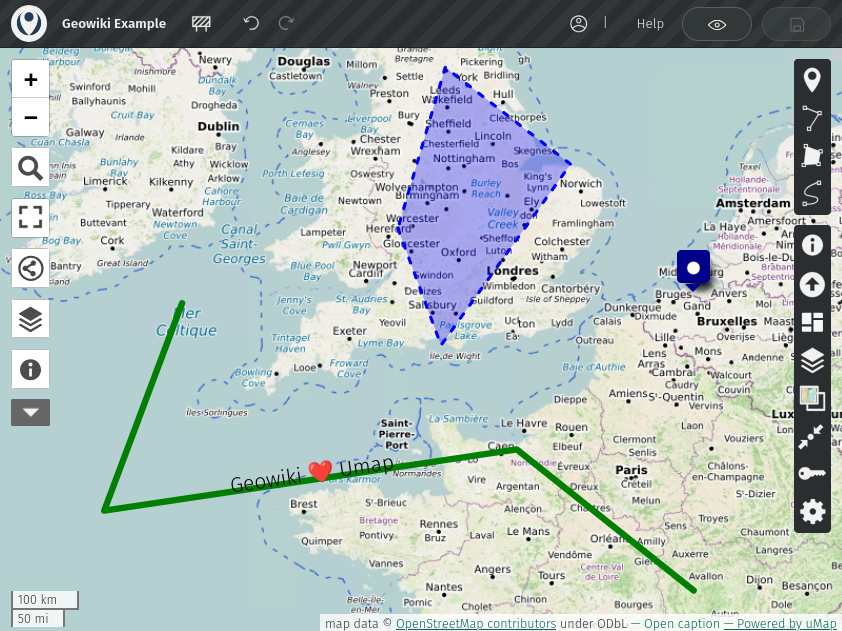
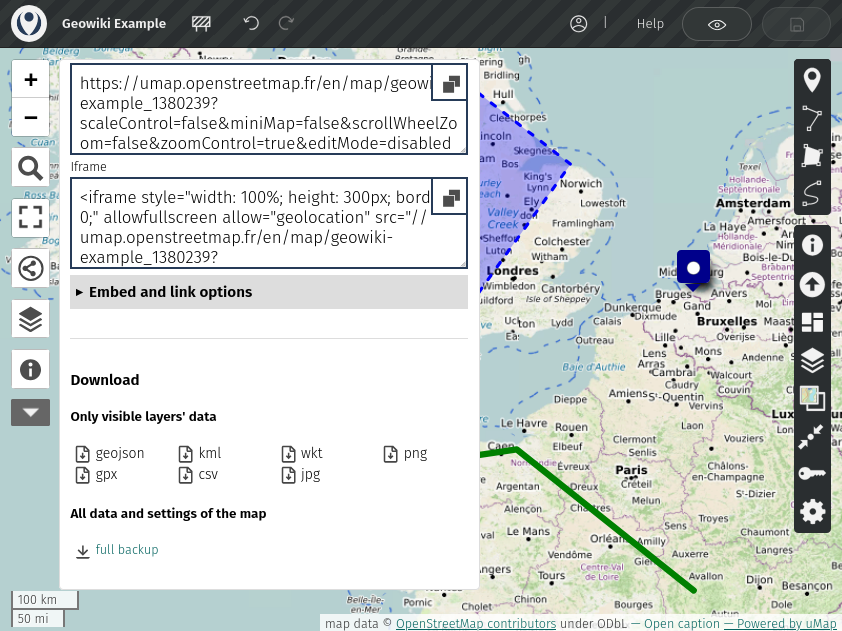
After saving, click on the "Share" button in the left menu. Scroll down to the very bottom and click "full backup". Other exports (geojson, ...) would only include the attributes, but not the style information.
geowiki-viewer
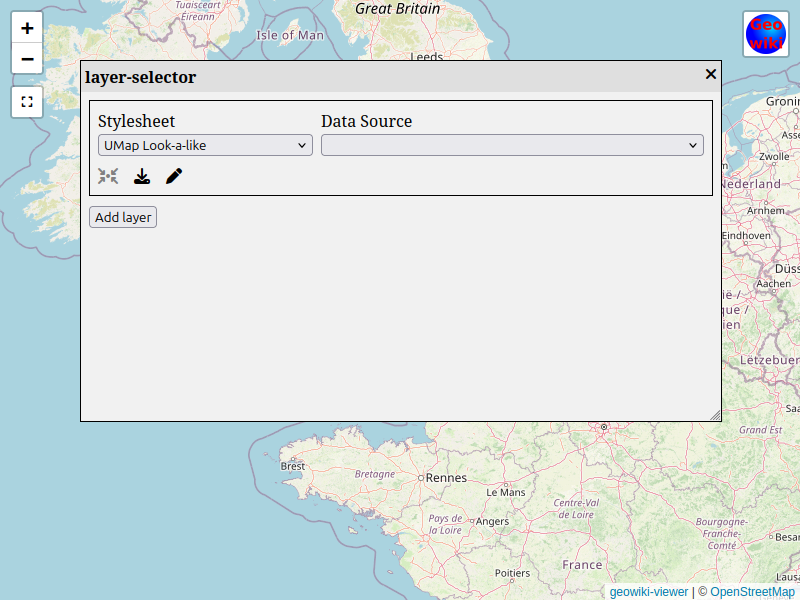
Then, in geowiki-viewer, open the layer selector by clicking on the "Geowiki"-Icon in the right upper corner. Choose the stylesheet "UMap Look-a-like" and as Data Source "<Local File>". A File-Open dialog will pop up where you can select the file which you downloaded from UMap. The module geowiki-module-umap includes the data converter as well as the stylesheet.
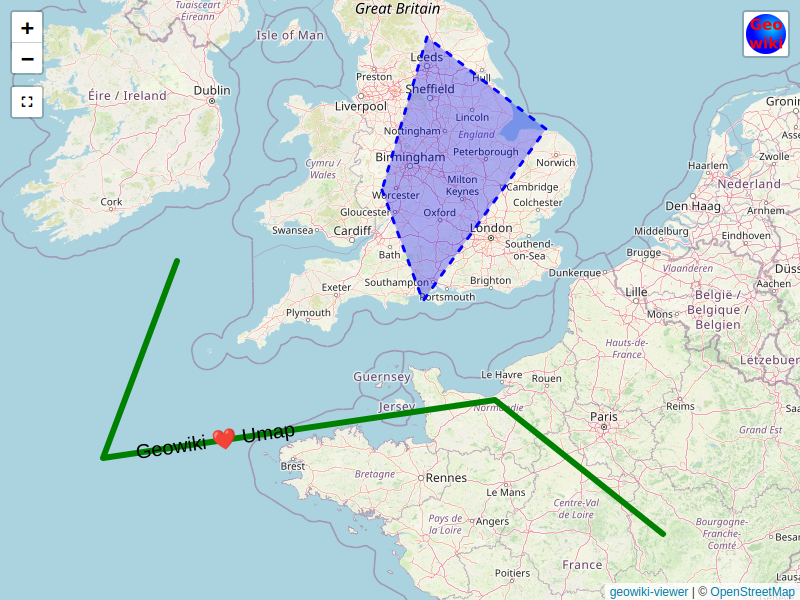
Close the layer selector and adore the result:
mapnik-geowiki
mapnik-geowiki creates high-quality images (SVG, PNG, PDF) of the data. We can use the following command to render a SVG image of the data:
mapnik-geowiki --center 51.283,-2.895 --zoom 6 --size 800x600 --source /tmp/umap_backup_geowiki-example.umap --style node_modules/@geowiki-net/geowiki-module-umap/style/umap.yaml --output image.svgmapnik-geowiki does not include a background map, the result is therefore a transparent image:

Conclusion
With Geowiki it is quite straightforward to use data from UMap. Geowiki is easy to self-host, with mapnik-geowiki you can create high quality images.
There are still limitations. Pins and markers do not currently work, as well as there are subtle differences in rendering.